
10 Best Glute Bridge Exercise Variations
1. Elevated Glute Bridge
The elevated glute bridge is a fantastic variation that really kicks things up a notch. Instead of having your shoulders on the floor, you’ll prop them up on a sturdy surface like a bench or a plyo box. This increases the range of motion, making your glutes work even harder. It’s like the regular glute bridge’s more intense cousin. I remember the first time I tried these; I definitely felt it the next day!
This variation increases the range of motion, leading to greater glute activation.
Here’s how to do it:
- Find a stable bench or box that’s about 12-16 inches high. Make sure it won’t slip or move while you’re using it.
- Sit in front of the bench with your knees bent and feet flat on the floor. Lean back and position your upper back against the bench, just below your shoulder blades.
- Engage your core and glutes, and drive through your heels to lift your hips off the ground. Your body should form a straight line from your shoulders to your knees. Really squeeze those glutes at the top!
- Slowly lower your hips back down towards the floor, maintaining control throughout the movement. Don’t just drop down; make sure you’re using your muscles to control the descent.
- Repeat for the desired number of reps. Aim for 3 sets of 10-12 reps to start. You can always adjust based on how you feel.
Elevated glute bridges are great because they not only work your glutes but also improve your hip mobility. Plus, they just feel like you’re getting more out of the exercise. If you’re looking to improve hip mobility and build a stronger booty, definitely give these a try!
2. Glute Bridge With Weights
Adding weight to a glute bridge is a simple way to increase the intensity and build more muscle. It’s a great way to progress once you’ve mastered the bodyweight version. Plus, it helps you build strength for everyday activities, like lifting heavy things. If your glutes are weak, other muscles might compensate, which can lead to injuries. So, strengthening them is super important.
To do it, lie on your back with your knees bent and feet flat on the floor. Place a dumbbell or kettlebell across your hips. Hold the weight with your hands to keep it in place. Engage your core and push through your heels to lift your hips off the floor. Squeeze your glutes at the top, making sure not to arch your lower back. Slowly lower back down and repeat. It’s a pretty straightforward way to make the exercise harder.
I remember the first time I tried this. I grabbed a 20-pound dumbbell, thinking it wouldn’t be too bad. Boy, was I wrong! By the tenth rep, my glutes were burning. It’s a humbling experience, but it definitely works. You can also use a barbell glute bridge for even more resistance.
Here’s a basic guide:
- Lie on your back with knees bent and feet flat.
- Place a dumbbell or kettlebell on your hips, holding it securely.
- Engage your core and lift your hips, squeezing your glutes at the top.
- Lower slowly and repeat.
It’s all about finding the right weight that challenges you without compromising your form. Start light and gradually increase the weight as you get stronger. This will help you build cycling training and power in your glutes and hamstrings.
3. Glute Bridge With Isometric Hold
Okay, so you’re getting comfortable with the regular glute bridge? Let’s crank things up a notch. The glute bridge with isometric hold is all about increasing the time your muscles are under tension. Basically, you hold that top position for a few seconds longer, and trust me, you’ll feel it. It’s a simple tweak, but it makes a huge difference. If you’re limited on weight options, holding your muscles for an extended period of time can get them firing.
Holding the top of each bridge for three to five seconds can help increase time under tension, or the amount of time your muscles spend contracting against an external resistance. In turn, this glute bridge variation can help build strength, muscle mass, and tendon health — all without any added resistance.
Here’s how to do it:
- Lie on your back with your knees bent, feet flat on the floor, hip-width apart, and arms at your sides, palms down.
- Engage your core and tuck your tailbone slightly. Push through your heels to lift your hips off the floor. Lift as high as you can without arching your lower back.
- Squeeze those glutes at the top and hold for 3-5 seconds. Really focus on feeling the burn.
- Slowly lower your hips back to the floor, one vertebra at a time. Control is key here.
Aim for 3 sets of 15 repetitions, holding each rep for 3-5 seconds. Or, if you’re feeling extra ambitious, try 3 rounds of a 30-second hold. You can adjust the hold time as needed. If 5 seconds feels too easy, bump it up to 8 or 10. If it’s too hard, start with 2 or 3 seconds and work your way up. Remember to focus on proper form throughout the entire exercise. Don’t let your hips sag or your back arch. Keep that core engaged and squeeze those glutes!
4. Single Leg Posterior Plank
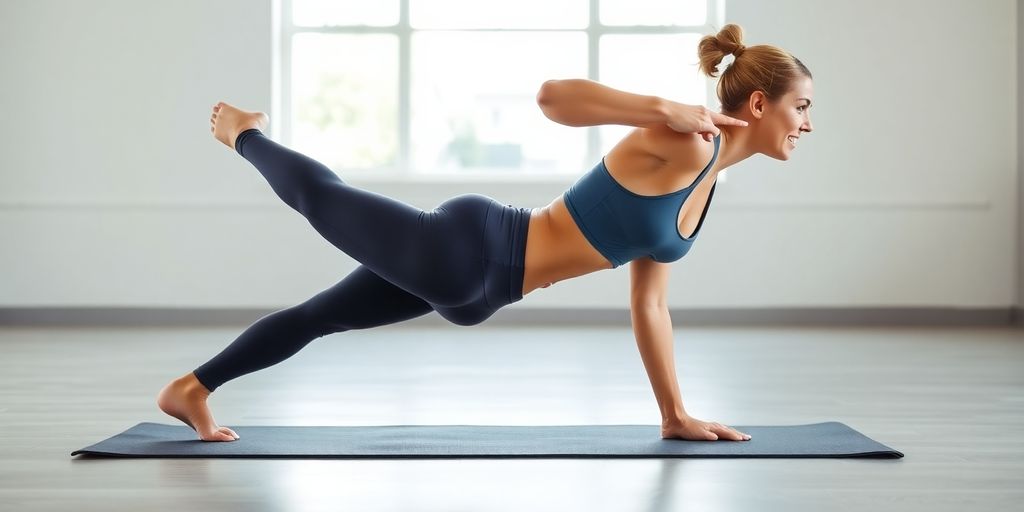
The single leg posterior plank, also known as the single leg glute bridge, is a fantastic way to level up your glute bridge game. It’s all about balance and really forces your core to work overtime. I tried these last week, and let me tell you, they’re tougher than they look! It’s a great way to identify and correct any muscle imbalances you might have. Plus, you don’t need any equipment, so you can do them pretty much anywhere.
Here’s how to do it:
- Start by lying on your back with your knees bent and feet flat on the floor. Arms should be at your sides, palms down.
- Lift one foot off the floor, extending that leg straight out or bending at the knee. The goal is to keep your thighs aligned.
- Engage your core and push through the heel of the foot that’s still on the ground to lift your hips up. Squeeze your glutes at the top of the movement.
- Hold for a second or two, then slowly lower back down. Try to keep your hips level throughout the exercise – that’s where the core strength comes in.
- Do all your reps on one side before switching to the other leg. Aim for 3 sets of 10-12 reps per leg.
If you find these too challenging at first, don’t worry! You can modify them by keeping the non-working leg bent with the foot slightly off the floor. The key is to maintain good form and focus on squeezing those glutes. Planks offer significant benefits, strengthening your core, back, glutes, hamstrings, arms, and shoulders simultaneously, making them a highly efficient exercise. I’ve found that focusing on driving through my heel really helps activate the glutes and prevents my hamstrings from taking over. Give it a try!
5. Pelvic Tilt
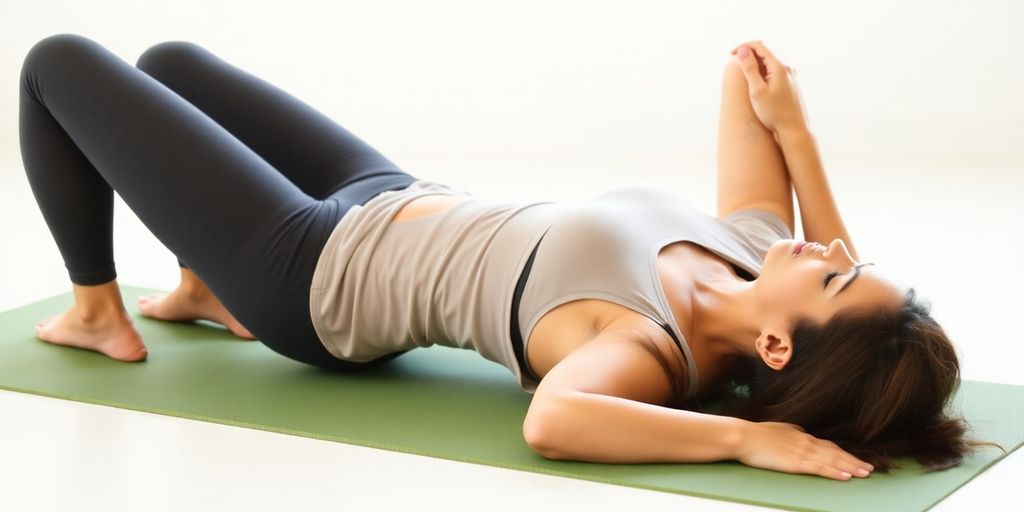
The pelvic tilt is a foundational movement that can really help you understand how to engage your core and protect your lower back during glute bridge exercises. It’s not just about lifting your hips; it’s about controlling the movement and making sure you’re using the right muscles. I remember when I first started doing glute bridges, I was all about getting my hips as high as possible, but my lower back was screaming. Then I learned about the pelvic tilt, and it made a world of difference.
Here’s how to do it:
- Lie on your back with your knees bent and feet flat on the floor. Your arms should be at your sides.
- Inhale deeply. As you exhale, gently draw your navel toward your spine. This will cause your pelvis to tilt slightly backward, pressing your lower back into the floor.
- Hold this position for a few seconds, focusing on keeping your core engaged.
- Inhale again, and as you exhale, slowly release the tilt, returning your pelvis to a neutral position.
- Repeat this movement for 10-15 repetitions. It’s a small movement, but it’s powerful.
Think of it like you’re pouring soup out of a bowl with your hips on the inhale, and then stopping the flow on the exhale. It’s a subtle cue, but it helps get that pelvic tilt motion going. This is especially helpful if you’re new to glute bridges and want to make sure you’re not overextending your lower back. You can use this to improve your glute bridge exercise form.
Wrapping It Up
So, there you have it! We’ve gone through a bunch of glute bridge variations, from the basic ones to those that really make you work. No matter where you’re starting from, there’s a glute bridge out there for you. Adding these moves to your routine can really help make your glutes stronger and even help with back or hip pain. Just remember to listen to your body and keep practicing. You’ll be feeling the burn and seeing results in no time. Happy bridging!
Frequently Asked Questions
What parts of my body does a glute bridge work?
The glute bridge is a super effective exercise that works your butt muscles, also known as your glutes. It also helps strengthen your hamstrings, which are the muscles on the back of your thighs, and your core, which is your belly area. It’s a great all-around move for your lower body.
How do I do a simple glute bridge?
To do a basic glute bridge, lie on your back with your knees bent and your feet flat on the floor, about hip-width apart. Push through your heels and lift your hips off the ground until your body forms a straight line from your shoulders to your knees. Squeeze your butt at the top, then slowly lower back down. Make sure to keep your stomach muscles tight so you don’t arch your back too much.
How can I make glute bridges more challenging?
You can make glute bridges harder by putting a weight on your hips, lifting one leg off the ground, or holding the top position for a longer time. You can also elevate your feet on a bench or step to increase the challenge.
Are glute bridges good for my lower back?
Yes, glute bridges are really good for your lower back! They help make the muscles around your hips and butt stronger, which can take pressure off your lower back. This can help reduce pain and make your back feel better, especially if you sit a lot.
How often should I do glute bridges?
It’s best to do glute bridges as part of your leg or full-body workouts. You can do them 2-3 times a week, making sure to give your muscles a day to rest in between. Listen to your body and don’t push it too hard, especially when you’re just starting out.
Why does my lower back hurt when I do glute bridges?
If your lower back hurts during glute bridges, it might mean you’re using your back too much instead of your butt muscles. Try to really focus on squeezing your glutes as you lift your hips. Also, make sure your stomach muscles are tight and your back isn’t arching. You can also try a simpler version, like the pelvic tilt, to get the movement right.