
Common Bike Repair Mistakes and How to Avoid Them
As new cyclists embark on their thrilling two-wheeled adventures, they unknowingly enter a realm where bike maintenance and repair play a pivotal role in their overall experience. Yet, amidst the exhilaration of cruising through scenic landscapes, many newbies make common mistakes that compromise their bike’s performance and longevity. This blog aims to shed light on these blunders and arm you, the budding cyclist, with essential knowledge to avoid them.
Proper bike maintenance is not a mere luxury, but a necessity. Surprisingly, only 14% of cyclists regularly maintain their bikes, while a staggering 55% remain oblivious to the significance of such upkeep (source: Cycling Industry News). Ignoring routine maintenance not only leads to decreased efficiency and increased wear and tear but also jeopardizes safety on the roads.
In this comprehensive guide, we’ll debunk prevalent misconceptions, demystify complex repairs, and equip you with invaluable tips to keep your bike in top-notch condition. Whether it’s brake adjustments, chain lubrication, or tire pressure checks, you’ll find straightforward advice to ensure hassle-free rides every time. By investing a little time in learning these bike repair fundamentals, you’ll save money on unnecessary repairs while maximizing your cycling enjoyment.
So, fasten your helmet, tighten those handlebars, and join us on this exciting journey to discover the most common bike repair mistakes and, more importantly, how to avoid them like a seasoned cyclist. Your trusty two-wheeled companion will thank you for it!
1. Not Checking Tire Pressure Regularly
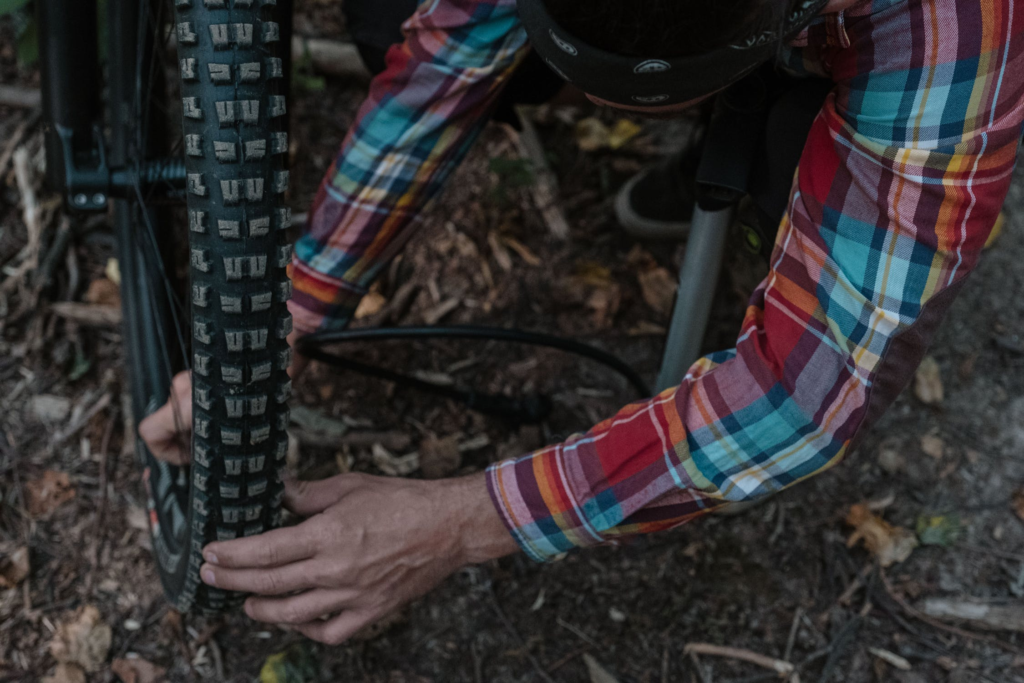
One crucial mistake that many new cyclists make is neglecting to check their tire pressure regularly. While it may seem like a trivial task, maintaining the optimal tire pressure is essential for a smooth and enjoyable ride. Proper tire pressure not only improves your bike’s performance but also enhances your safety on the road.
When the tire pressure is too low, your bike becomes more difficult to pedal, making your rides unnecessarily strenuous. Additionally, underinflated tires are more prone to flats and punctures, as they are more susceptible to being pinched or compressed against the wheel rim. On the other hand, overinflated tires can lead to a harsh and uncomfortable ride. They make your bike less nimble and increase the risk of skidding, particularly on wet or slippery surfaces.
To avoid these unpleasant consequences, it’s crucial to know how to check and adjust your tire pressure correctly. Firstly, you’ll need a reliable tire pressure gauge. These can be found at most bike shops and are a useful investment for any cyclist. To determine the optimal pressure for your tires, refer to the sidewall of the tire, which displays the recommended range in PSI (pounds per square inch).
Check the current pressure
To check the current pressure, unscrew the valve cap on the tire and press the gauge onto the valve stem. A small click or hiss may occur as you press down, indicating the reading. Compare the reading with the recommended range. If it falls below the range, your tire is underinflated, and if it exceeds the range, your tire is overinflated.
Adjust the tire pressure
To adjust the tire pressure, you will need a bike pump equipped with a pressure gauge. Begin by releasing air from the tire if it is overinflated, using the small pin on the pump head or a valve core removal tool. Next, connect the pump head to the valve stem and pump air into the tire. Keep an eye on the pressure gauge and periodically check the pressure with your gauge until it falls within the recommended range.
Be aware of temperature effects
It’s important to note that temperature affects tire pressure. As the temperature rises, the air inside the tire expands and increases the pressure. Conversely, colder temperatures cause the air to condense, leading to lower tire pressure. Therefore, it’s advisable to regularly check and adjust your tire pressure, especially during extreme weather conditions.
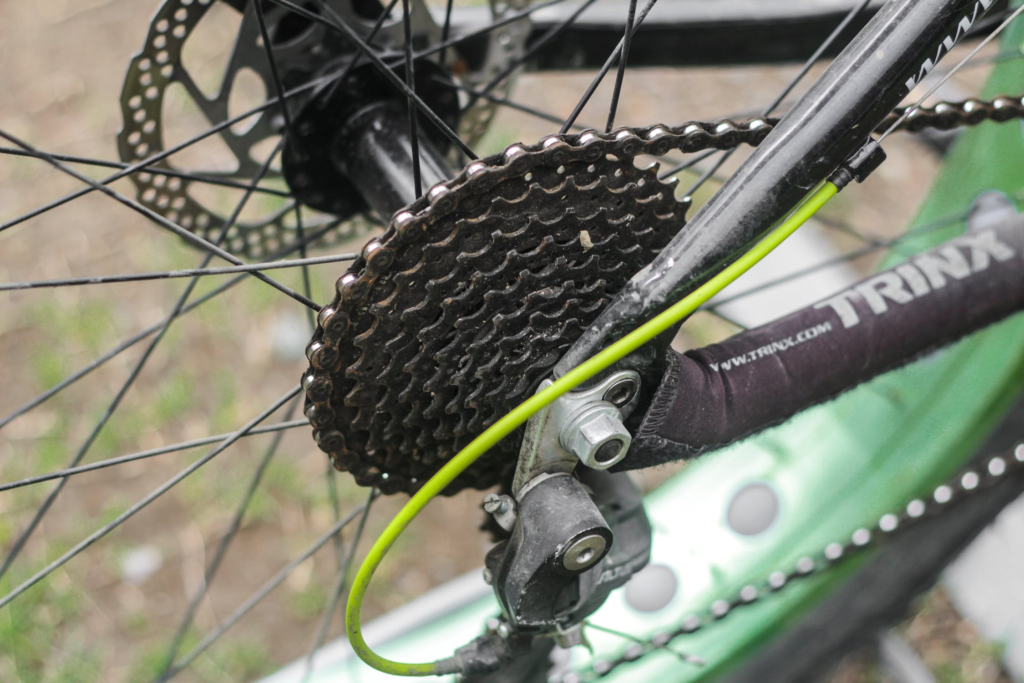
2. Neglecting Chain Cleaning and Lubrication
Another common mistake that new cyclists make is neglecting to clean and lubricate their bike chains regularly. While it may seem like a mundane task, maintaining a clean and well-lubricated chain is essential for smooth gear shifting and optimal bike performance.
A well-maintained chain is crucial for smooth gear shifting. When your chain is dirty or dry, it can cause the gears to skip, mis-shift, or even get locked up. This not only affects your ability to ride comfortably, but it can also be dangerous, especially when you’re going at high speeds or navigating steep terrains. By regularly cleaning and lubricating your chain, you ensure that it moves smoothly and efficiently, allowing you to shift gears effortlessly and with precision.
Neglecting chain cleaning and lubrication can have several consequences on bike performance. Firstly, a dirty chain increases friction between the chain and the drivetrain components. This can result in unnecessary wear and tear on both the chain and the gears, leading to premature damage and costly repairs. Moreover, a dry chain lacks lubrication, which can cause it to rust and become stiff over time. A rusty chain not only affects the overall performance of your bike but also shortens its lifespan.
To properly maintain your chain, follow this step-by-step guide on chain cleaning and lubrication.
1. Start by securing your bike on a stable stand or flip it upside down, ensuring that it is stable and won’t fall. This allows you easy access to the chain.
2. Use a degreaser and a brush to thoroughly clean your chain. Pay close attention to the areas between the chain links and the rear derailleur jockey wheels. Gently scrub away any dirt, grime, or debris that may have accumulated.
3. Rinse off the degreaser with water and allow the chain to dry completely before applying lubricant. Ensuring that the chain is dry helps the lubricant adhere properly.
4. Apply lubricant to the chain, making sure to distribute it evenly along the entire length. A few drops are usually sufficient. Avoid over-lubricating as this can attract dirt and create a messy buildup.
5. After applying the lubricant, allow it to penetrate the chain for a few minutes. You can gently rotate the pedals to help the lubricant work its way into the chain links.
6. Finally, wipe off any excess lubricant with a clean cloth. This prevents an excessive buildup of lube, which can attract dust and grime.
3. Improper Brake Adjustments
A crucial aspects of bike maintenance is ensuring that the brakes are in optimal working condition. Properly functioning brakes are essential for safety, as they allow cyclists to slow down or stop when necessary. Failing to maintain or adjust the brakes can compromise their effectiveness and potentially lead to accidents or injuries. In this section, we will discuss common brake adjustment mistakes and provide step-by-step instructions on how to properly adjust your bike brakes.
First and foremost, it’s vital to understand the importance of well-functioning brakes for your safety on the road. Imagine riding downhill at a high speed when suddenly, an obstacle appears. Without properly adjusted brakes, your ability to slow down or stop in time would be severely compromised. This could result in a catastrophic collision, causing injuries not only to yourself but also to others around you. Therefore, maintaining and adjusting your brakes should be a top priority.
Now, let’s explore some common brake adjustment mistakes that can compromise the effectiveness of your brakes. One common error is having uneven brake pad alignment. This occurs when one brake pad makes contact with the rim before the other, resulting in imbalanced braking power. Another mistake is when the brake pads are improperly positioned too far away from the rim or too close, which can drastically affect braking efficiency. Additionally, worn or contaminated brake pads can reduce the brake’s ability to grip the rim properly, leading to decreased stopping power.
To properly adjust your bike brakes, follow these step-by-step instructions. First, examine the brake pads to ensure they are not excessively worn or contaminated with dirt or oil. If needed, replace the brake pads with new ones. Next, position the pads correctly, ensuring they make contact with the rim simultaneously. To adjust pad alignment, use a 5mm Allen wrench to loosen the bolt holding the brake pad in place. Carefully align the pad with the rim, making sure it’s parallel and centered. Tighten the bolt once the alignment is correct.
Moving on, check the distance between the brake pads and the rim. Ideally, there should be only a small gap between them, roughly the width of a business card. Use the brake barrel adjuster, typically located at the brake lever or on the brake caliper, to fine-tune this gap. Turn the barrel adjuster clockwise to decrease the gap and counterclockwise to increase it. Find the perfect balance where the pads make full contact with the rim without rubbing excessively.
Finally, give your brakes a test run before hitting the road. Squeeze the brake levers gradually and ensure they engage smoothly without any delay. If necessary, make further adjustments to achieve optimal braking performance.
4. Incorrect Gear Shifting Techniques
Proper gear shifting techniques are crucial for ensuring optimal bike efficiency and longevity. As new cyclists, it is vital to understand the importance of using the correct gear at the right time. The gears on your bike are not just there for show; they play a critical role in helping you conquer various terrains and ride with ease.
One common gear shifting mistake that new cyclists often make is shifting gears under load. Picture this: you’re powering up a steep hill, putting all your strength into the pedals, and then suddenly, you decide to shift gears. It’s like putting your bike into turbo mode, right? Well, not quite. Shifting gears under load can take a toll on your bike’s drivetrain components, causing unnecessary wear and tear. Furthermore, it can also lead to a jarring shift, making it harder for you to maintain your momentum. To avoid this mistake, remember to ease off on the pedals momentarily before shifting gears. This will help ensure a smooth transition and prevent damage to your bike.
Another mistake that new cyclists often fall victim to is cross-chaining. Cross-chaining is when you have your chain on the extreme gears at the front and back simultaneously, such as using the big ring at the front and the largest cog at the back. This misalignment not only puts excessive strain on your chain and gears but also increases the risk of chain slippage, leading to potential accidents. To avoid cross-chaining, always try to maintain a straight chain line. In simpler terms, use the smaller chainring at the front with the smaller cogs at the back, and the larger chainring at the front with the larger cogs at the back. Following this simple guideline will not only prolong the life of your drivetrain but also improve your overall riding experience.
To ensure you are shifting gears correctly, it is crucial to anticipate changes in terrain and adjust your gears accordingly. When approaching an uphill climb, shift to a lower gear before you start struggling. This prevents your chain from grinding and helps you maintain a consistent cadence. Conversely, when descending or riding on flat terrain, shift to a higher gear to maximize your speed and efficiency. Remember, shifting gears should always be a smooth and seamless process, so take the time to practice and become familiar with your bike’s gear ratios.
5. Tightening Bolts and Nuts Incorrectly
When it comes to bike repair, new cyclists may tighten bolts and nuts incorrectly. While it may seem like a minor detail, improper fastening can have significant consequences for both your safety and the performance of your bike.
First and foremost, loose bolts and nuts can pose a serious risk to your overall safety while riding. As you pedal and navigate through challenging terrain, the vibrations and shocks can gradually loosen these fasteners. This can lead to parts becoming unstable or even falling off entirely, compromising your control over the bike and causing accidents. On the other hand, over-tightening bolts and nuts can also lead to problems. Excessive force applied during tightening can strip threads or warp components, rendering them useless and requiring costly replacements.
To avoid these potential hazards, it’s crucial to understand and avoid common mistakes made when tightening bike components. One common error is using the wrong tool. Each bolt and nut on your bike is designed to be tightened using a specific type and size of wrench or Allen key. Using an incorrect tool can result in insufficient torque application or damage to the fastener itself. Additionally, uneven application of force is another common mistake. It’s important to apply equal force on each side when tightening bolts or nuts to ensure proper distribution of pressure, preventing strain or damage on one side.
To help you tighten bolts and nuts correctly, here are some guidelines to follow. Firstly, consult your bike’s user manual or seek professional advice for the recommended torque specifications specific to your bike’s components. These values ensure that fasteners are fastened appropriately without being either too loose or tight. Secondly, invest in a reliable torque wrench if you wish to be extra precise and avoid potential mistakes. This tool allows you to achieve the correct amount of torque, ensuring that the fasteners are neither too loose nor over-tightened. Finally, always double-check your work. After tightening a bolt or nut, give it a gentle tug or twist to ensure it is secure. This simple step takes just a moment and can save you from potential accidents later.
Conclusion
In conclusion, it is crucial to avoid common repair mistakes that can not only hinder our biking experience but also compromise our safety. By understanding and steering clear of these errors, we can ensure a smoother, more enjoyable ride on the open road.
Regular bike maintenance should always be a top priority for cyclists of all backgrounds. Even though it may seem tedious at times, taking the time to check tire pressure, lubricate the chain, and inspect the brakes can prevent future mishaps and costly repairs. Remember, a well-maintained bike is a reliable one.
While it’s absolutely possible to handle basic repairs on our own, there may come a time when seeking professional help is necessary. Don’t shy away from reaching out to a reputable bike shop or a skilled mechanic for assistance. They possess the experience and expertise to diagnose and fix any issues we may encounter, ensuring our bike is in optimal condition.
As we continue on our biking journey, let us strive to stay knowledgeable, and continuously educate ourselves on proper bike maintenance and repair techniques. Embracing a proactive approach towards our bikes not only instills a sense of confidence in our abilities but also fosters a safer and more enjoyable riding experience.