How to Modify Your E-Bike Controller for Enhanced Performance
Are you an e-bike enthusiast looking to boost your ride’s performance? Modifying your e-bike’s controller might just be the key to unlocking that extra oomph! But before we dive into the how-to, it’s essential to understand what an e-bike controller is and why tweaking it can make a big difference.
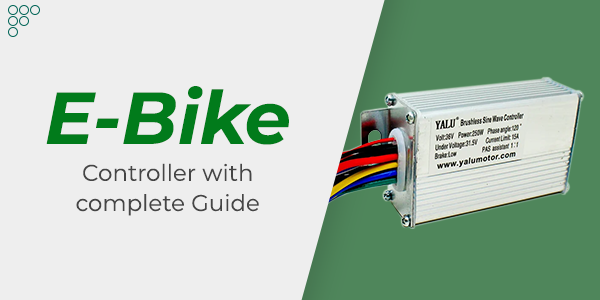
Understanding the E-Bike Controller
The e-bike controller is the heart of your electric bike’s electrical system. Think of it as the brain that decides how much power to send to the motor based on your input. It plays a crucial role in how your bike behaves when you hit the throttle or pedal.
Why Modify Your E-Bike Controller?
Modifying the controller can lead to:
- Increased speed and torque.
- Better battery efficiency.
- Customized riding experience.
However, remember that modifying your e-bike controller can void warranties and might not be legal in some areas. Always check local regulations before proceeding.
Step-by-Step Guide to Modifying Your E-Bike Controller
Step 1: Gather Your Tools and Materials
You’ll need:
- A compatible controller (if replacing).
- Basic tools (screwdrivers, pliers, etc.).
- A multimeter.
- Soldering iron and solder (if necessary).
- Protective gear (gloves, goggles).
Step 2: Understand Your Current Setup
Before making any changes, it’s vital to know how your current setup works. Take note of:
- The voltage and type of your battery.
- The wattage of your motor.
- The current settings of your controller.
Step 3: Access the Controller
- Locate the controller: It’s usually under a cover on the bike frame.
- Remove the cover: Use the appropriate tools to carefully open the cover.
Step 4: Modify the Controller Settings
For software modifications:
- Connect the controller to a computer if it’s programmable.
- Use software provided by the manufacturer to tweak settings like max speed or acceleration.
For hardware modifications:
- Adjust potentiometers (small dials) inside the controller to change current limits or cut-off voltages.
- Be cautious and make small adjustments.
Step 5: Replace the Controller (Optional)
If you’re opting for a new controller:
- Disconnect the old controller by carefully removing the connections.
- Connect the new controller, ensuring all wires match up.
- Secure the new controller in place.
Step 6: Test Your Bike
After making changes:
- Reassemble your bike.
- Test it in a safe area to check the new performance.
- Make further adjustments if needed.
Ebike Controller Replace
If you want to get a better controller for your ebikes in terms of quality and speed and better battery performance, you can consider the following controller replacement:
Shop for Keenso E-Bike Controller
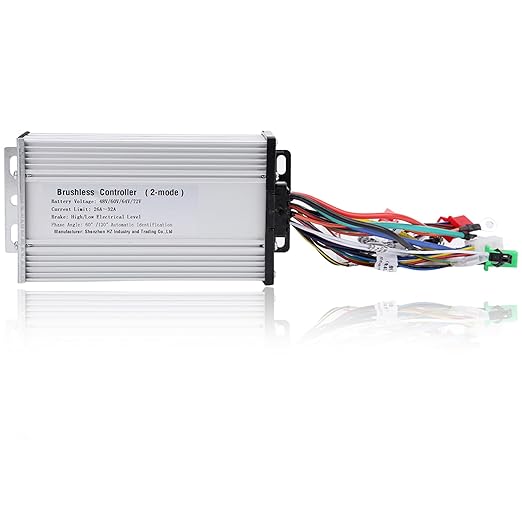
VGEBY Motor Brushless Controller

Safety and Legal Considerations
Modifying your e-bike’s controller can be exciting, but safety comes first. Always wear a helmet and appropriate gear while testing. Also, keep in mind the legal implications of modifying your e-bike, especially if it affects speed limits.
Conclusion
Modifying your e-bike controller can be a rewarding project for the tech-savvy cyclist. It allows you to tailor your ride to your specific needs and preferences. Remember, though, that with great power comes great responsibility. Ride safely and responsibly!